
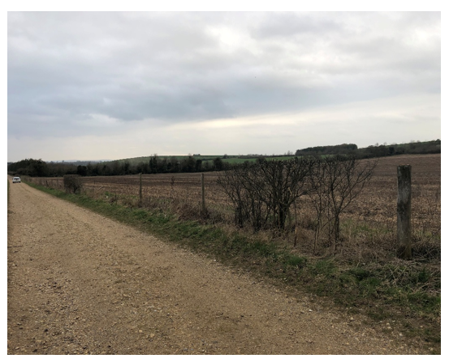
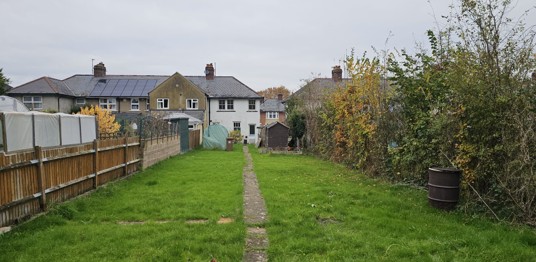
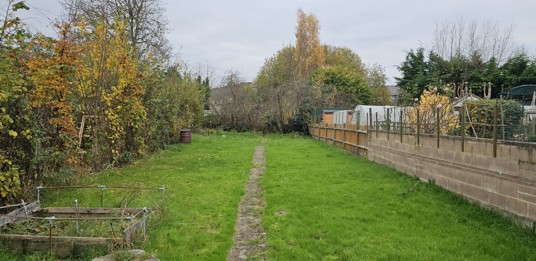
When my partner and I were viewing houses to buy, we came across one that had a 30m hedge which was really a neglected, leggy line of young trees begging for some management. Having been working as Wild Oxfordshire’s Hedgerow Officer for the past two years all I wanted to do was practice what I preach and get stuck in to create a lovely, bushy hedgerow that urban wildlife can enjoy. Surprise surprise, we ended up buying the house which led us to our very own hedge rejuvenation project!
Winter is the perfect time for hedge management when dealing with a native hedge as this is when plants are dormant (not actively growing) and can handle robust maintenance. When plants are cut, it takes energy to heal the cuts so it’s less stressful to manage a hedge during dormancy as it can focus its energy on healing rather than healing and growth. Hedges managed in the colder months are also less prone to pest infestations and infections, as insects and disease-causing organisms that overwhelm fresh cuts are inactive during the winter. Another plus is you can easily see the overall branch structure as there are no leaves to block your view, making it easier to complete management. For garden hedges, it may be useful to check which trimming and pruning times are appropriate for different species as they will be influenced by various factors, for example flowering and fruiting periods, whether they are deciduous or evergreen, and sap production.
A hedge will always require management to maintain it, but it cannot be kept in the same state indefinitely. Without trimming, a hedge will develop into a line of trees, andy our hedge habitat will be lost. On the other hand, if you over trim, which can be considered as trimming to the same place year after year, your hedge will deteriorate in condition. Over trimming stresses the plants, big scar knuckles form at the trim line and your hedge gradually loses foliage from the base, becomes gappy and eventually disappears entirely. Depending on how far your hedge has progressed to either of these extremes, you can potentially bring it back to a healthy condition through rejuvenation by coppicing and filling in the gaps with new plants, or hedgelaying. Check out Peoples Trust for Endangered Species (PTES) website to learn all about the Hedge Management Cycle.
Coppicing and hedgelaying both require cutting at the base of stems, stimulating the plants to send out new shoots around the location of the cut. This encourages dense and bushy growth right from the base of your hedge which is a characteristic to aim for. You can visit the PTES website to learn about which features and characteristics are important to incorporate in a hedge: The structure of a hedge - People's Trust for Endangered Species.
When coppicing, you remove the entire tree stem to be left with a stump of roughly 8cm whereas hedgelaying you partially cut the stems, then lay them over at an angle and secure them in place with stakes and binders which are usually made from hazel.

Historically, the purpose of hedgelaying was to create stock proof fences to ensure cattle and sheep are contained within fields but the need for these living fences has declined since the advent of man-made fencing. This has led to a disappearing rural heritage craft which has contributed to a decline in hedge health across the country.
Choosing to lay your hedge instead of coppicing has benefits for wildlife. With laying you can be left with a hedge-like structure which provides cover for animals and birds to hide away from predators and berries for them to feed on almost immediately after completing the management. With coppicing, you are removing all the stems and foliage, so you need to wait a little longer for it to develop back into an attractive habitat. One point to highlight is, regardless of how attentive you have been, all hedges require periodic rejuvenation to keep them healthy and ensure longevity so you will need to pick one rejuvenation method or the other at some point!
For our hedge, the first thing we did was decide what rejuvenation techniques we were going to use. For hedgelaying, you need at least three stems per metre in your hedge line, but we didn’t have this consistently. So, we decided to coppice and gap up some sections and lay other sections. My partner booked on to a one-day hedgelaying workshop offered by Wild Oxfordshire as part of the Hedgerow Heroes project to give him some hands-on experience. He quickly learnt that a chainsaw is your best friend, especially if the stems you are dealing with are quite large. We also bought a billhook from ebay and sharpened it to within an inch of its life. Apparently, you should be able to slice a piece of paper with ease with your billhook!

We attempted to identify all the species in the hedge line to check laying and coppicing would a) be appropriate for the species present and b) okay to do during the winter months. This did prove quite tricky as by the time we were official homeowners, the trees had dropped their leaves. However, we remembered there to be hawthorn, blackthorn, hornbeam, dog rose and hazel, and the beech trees still had brown crispy leaves attached and we thought ours a native hedge was suitable for rejuvenation in the winter. We strimmed the vegetation around the bottom of the hedge, clearing everything out so we had good access to the base of the stems. Then we got to it!
As we ventured down the length of the hedge, we decided we wanted to lay as much as we could rather than coppicing large sections, even though the latter was really a more appropriate rejuvenation method. But the hedge was the boundary between our garden and our neighbour’s so we thought coppicing may look a bit drastic! There were lots of rather large gaps and we didn’t know how to prop the pleachers (stems that have been cut) up. So…we improvised. Professional hedgelayers avert your eyes now!

We found some large tree stumps in the garden and thought they would be perfect to prop our pleachers up, so we dotted the stumps along the hedge line. Obviously, this is not the correct thing to do, but needs must at this point. It also worked very well I might add! In hindsight, we should have prebought all the stakes, so we had them to hand and used them to prop the first pleachers up at each large gap or just lay the pleachers on to the floor and build up the height to achieve the right angle (the correct thing to do!).

The final faux pas we made was continuing our stakes and binders throughout the gappy sections. Some professional hedgelayers don’t really like this but for the sake of our neighbours, we thought it best to continue the living fence to have a homogenous boundary. The hedge would quickly grow to cover the gaps anyway!

Once we finished all the staking and binding, we planted over 100 whips to flesh the hedge out and fill in any gaps. We planted alder buckthorn, wild cherry, crab apple, hawthorn and dogwood making sure to plant some whips around the edges of the stumps to mitigate big gaps caused by their presence. All there was left to do was watch the hedge flourish!
And did it flourish! Throughout spring and summer, it quickly grew into a lovely bushy hedge. Some species we didn’t know were there came to light such as flowering currant, bird cherry and snowball. We also had plenty of bindweed, so we did one or two weeding sessions to pull it out; with just two sessions we mostly stopped the bindweed in its tracks and the young plants developed well. As the summer progressed, we found that the flowering currant hasn’t responded well to laying with not much growth at all.
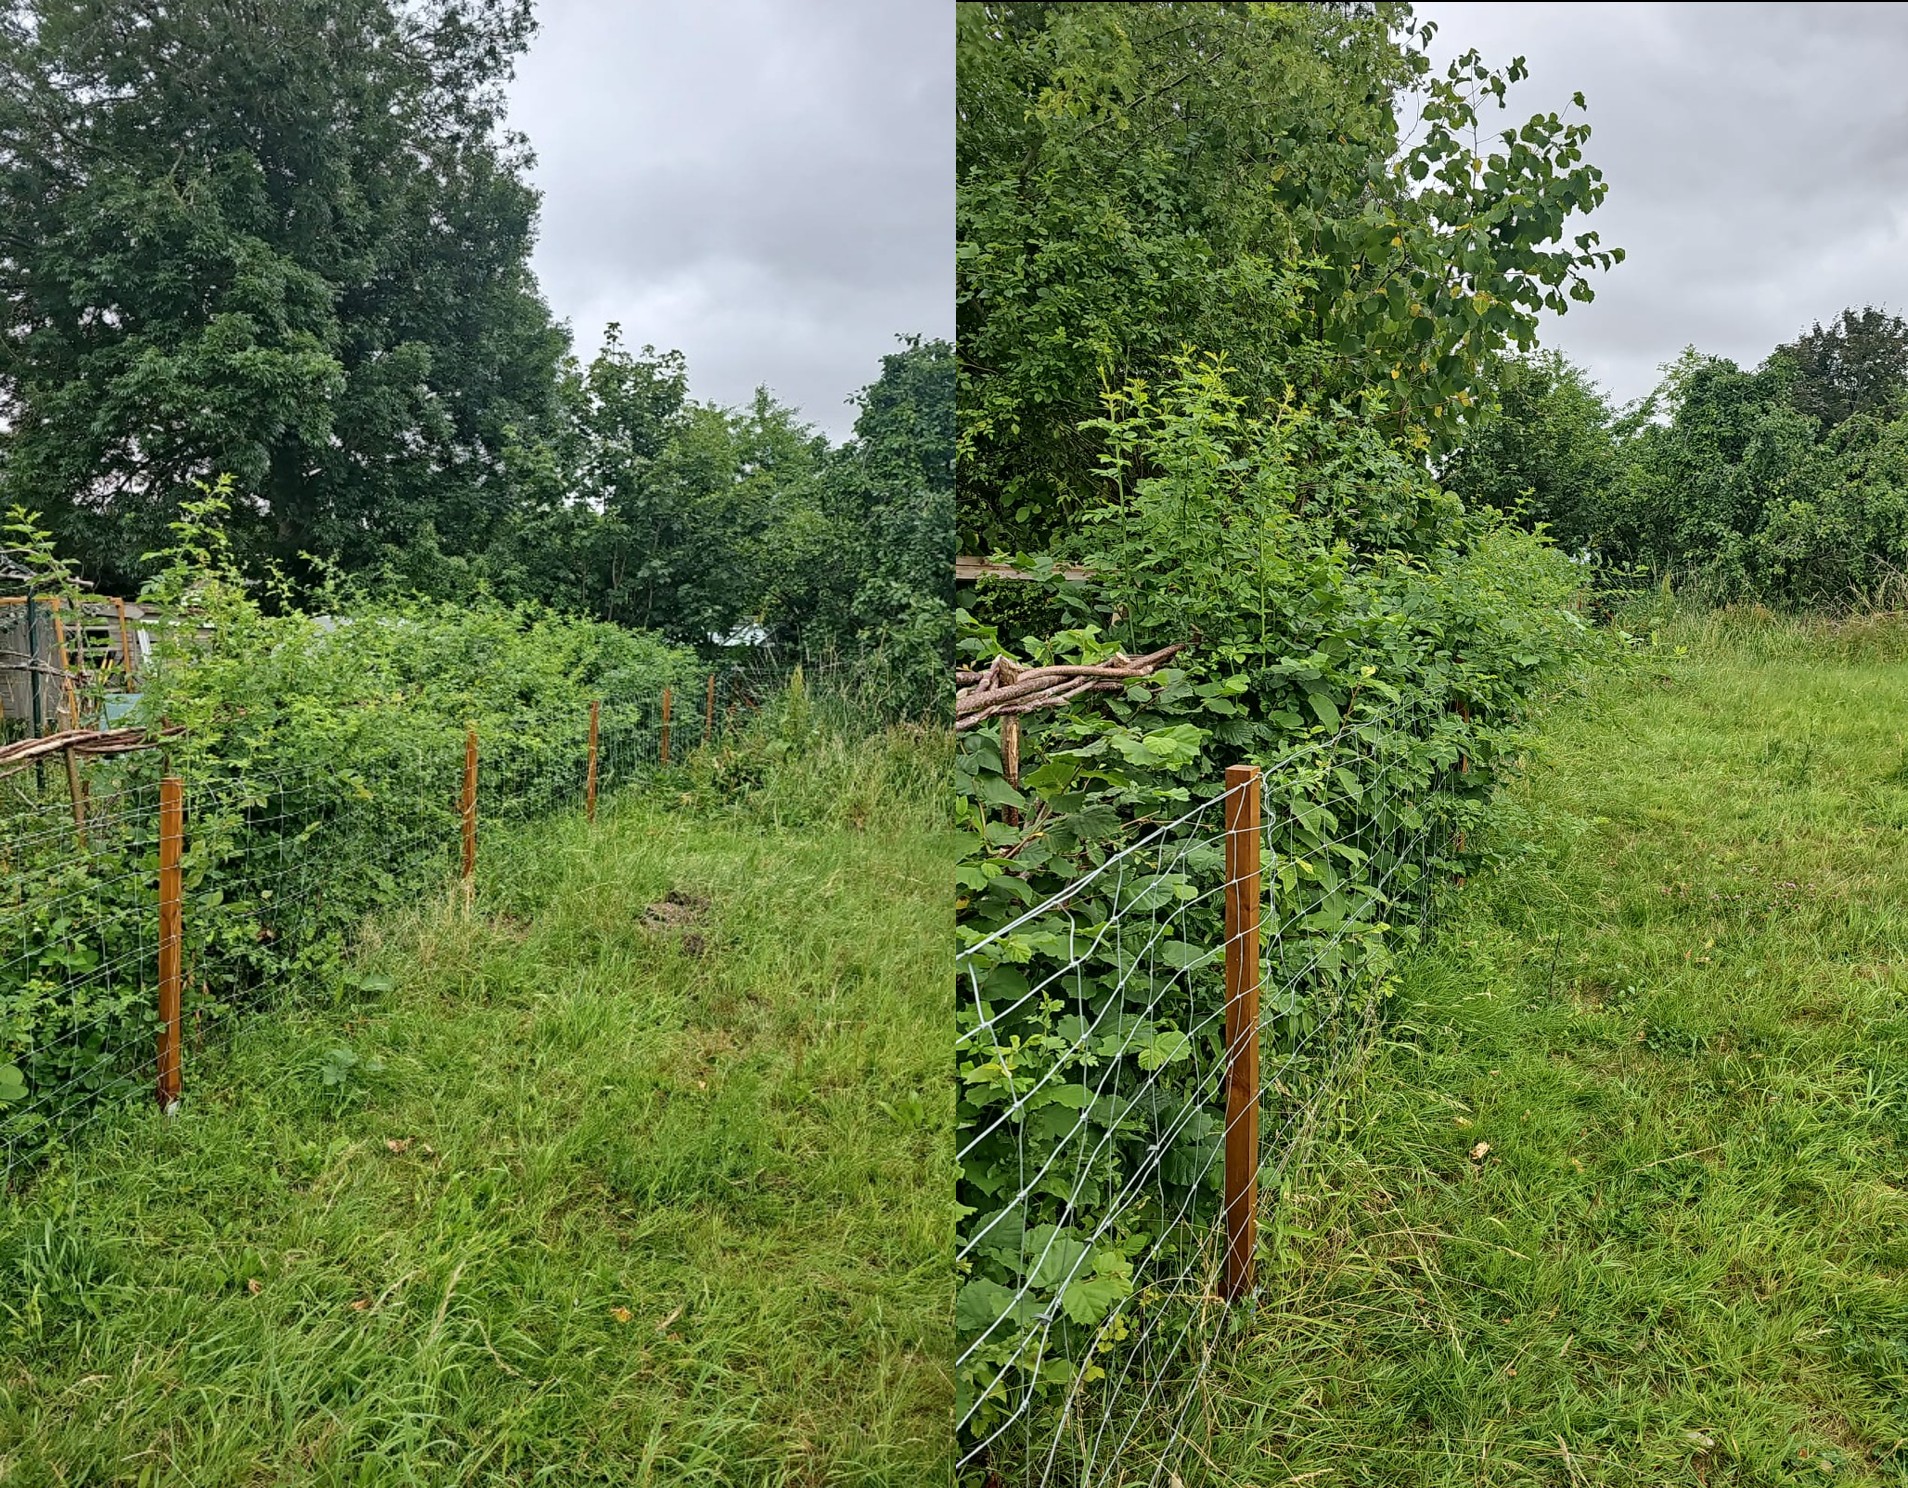
For the next four to five years, we will trim the hedge to the same place each year in February; trimming in late winter allows berries to be left on the trees for as long as possible for animals to gorge on. I know I said hard trimming is not recommended but this is the only time to trim your hedge hard for a prolonged period of time. Trimming hard after laying will nurture a good structure with dense and bushy growth right from the ground. After years of hard trimming, we will relax the trimming regime to allow our hedge to breath and increase in size. We won’t have to rejuvenate our hedge for another 30+ years.

Our hedge is far from competition standard, but it is growing with vigour. Despite being absolute beginners in practical hedge management plus all our improvisations, we have transformed the scraggly gappy line of trees into a dense hedge which can provide benefits for us and wildlife for years to come!
Top tips for laying your own hedge:
· Take part in a hedgelaying workshop. Wild Oxfordshire will be offering hedgelaying workshops this winter as part of Oxfordshire Hedgerow Heroes 2025/26 so get in touch or keep an eye on our social media if you are keen to take part!
· Get a chainsaw if you have some big trees in your hedge with thick trunks.
· Just crack on! The easiest way to learn is to get stuck in. Don’t worry if you slice a stem by mistake, it will still put out new shoots.
· Make sure your bill hook (tool to cut stems) is sharp. Sharpen before every use.
· Get some good gloves, I bought some thin liners to go under my work gloves and my fingers stayed toasty.
· Give yourself plenty of time. We thought we would be done in a couple of weekends…it took five!
There’s lots of information on the Wild Oxfordshire website about hedgerows including their benefits, how to survey them and how to manage them correctly to ensure they stay healthy! Have a look here: Hedgerows Guidance